Getting added to a project should be low friction. If you received an invitation to join a project, this guide walks you through each action so you arrive in the project ready to contribute. Whether you plan to use LiteTracker as a lightweight way to stay organized or you want a full Tracker experience, these steps cover everything from opening the invite to completing the quick tour.
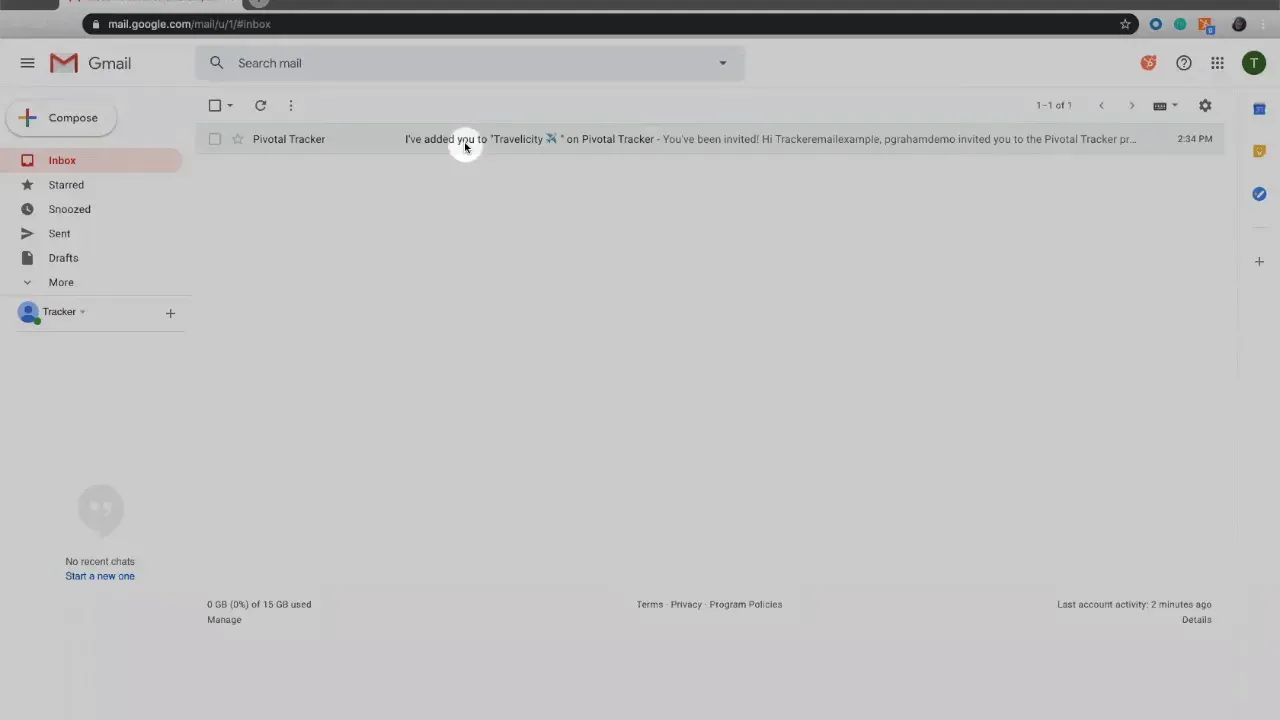
Step 1: Open the invitation email
The invitation arrives in email with a clear call to action. Look for a message from your teammate or project admin and find the Join the Project button. That button is the one click that begins your enrollment and links you to the account creation form or directly into the project if you already have an account.
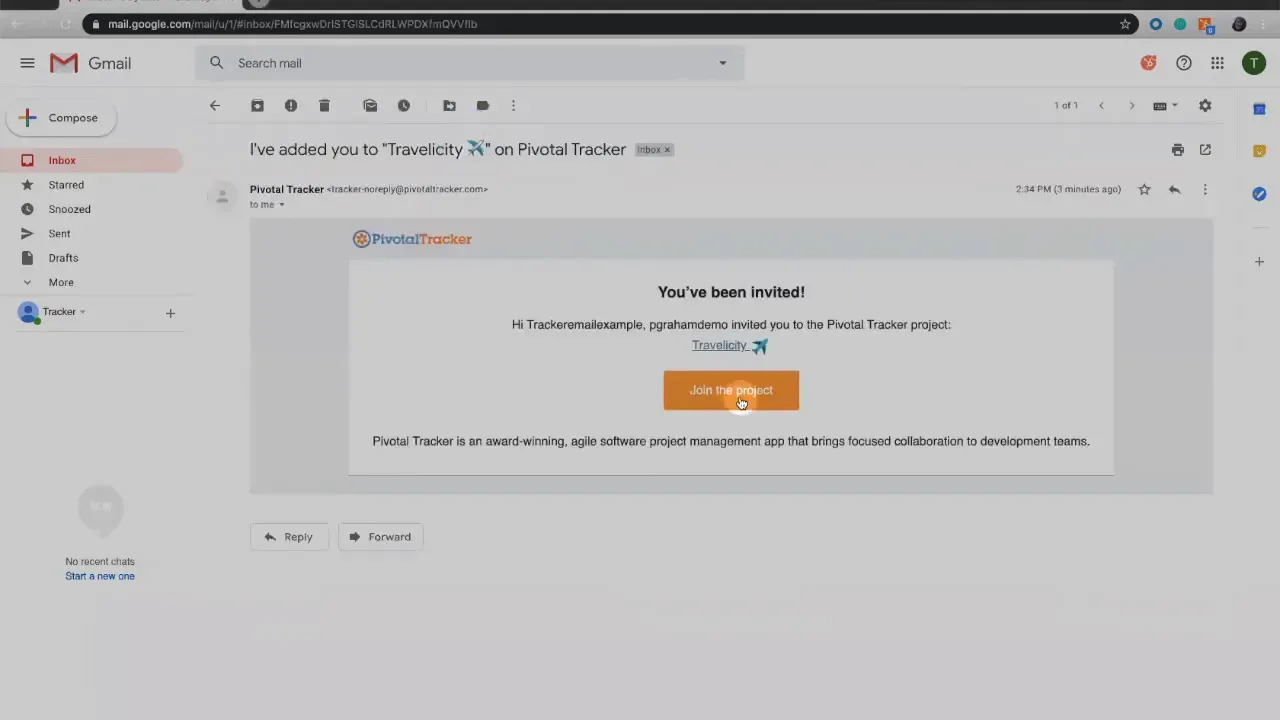
Step 2: Click the Join the Project button
Click the button in the email. You will be redirected to a secure page for creating your account. If you're using LiteTracker for a simplified workflow, this same process applies—only the interface may be slightly streamlined. The important part is that the link ties your email address to the specific project invitation, so do not forward the invite link to others.
Step 3: Create your Tracker user ID
The account form pre-fills basic information like your name when possible. You only need to complete a few fields to create your user ID. Choose a password you will remember and confirm it. If you are using LiteTracker as a personal preference, the same username setup works, so you can switch between a lighter view and the full project experience as needed.
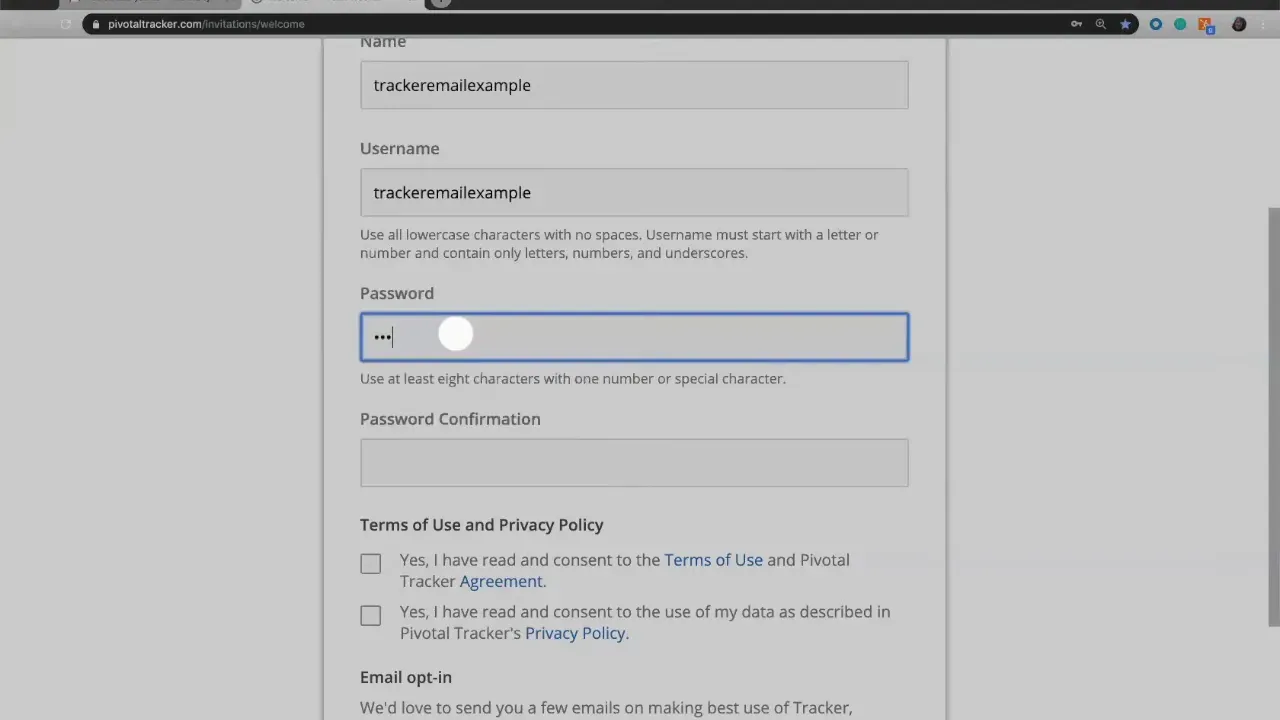
Step 4: Set your password and agree to policies
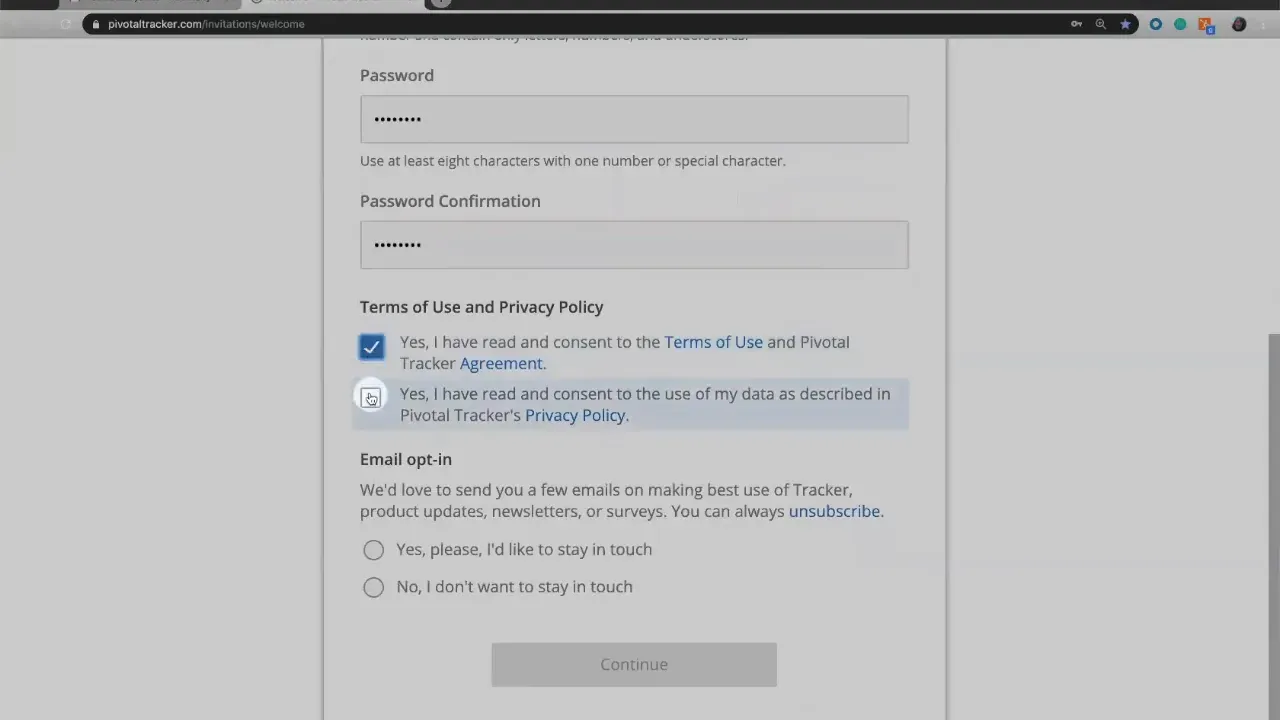
Enter a secure password and confirm it on the form. You will also be asked to agree to the privacy policy and the data policy. These agreements are standard and protect both you and the organization running the project.
There is often an option to opt in to product updates and announcements. If you want to stay informed about feature improvements or LiteTracker tips, opt in. If you prefer fewer emails, opt out. Choose what suits your workflow.
Step 5: Enter the project and view the welcome resources
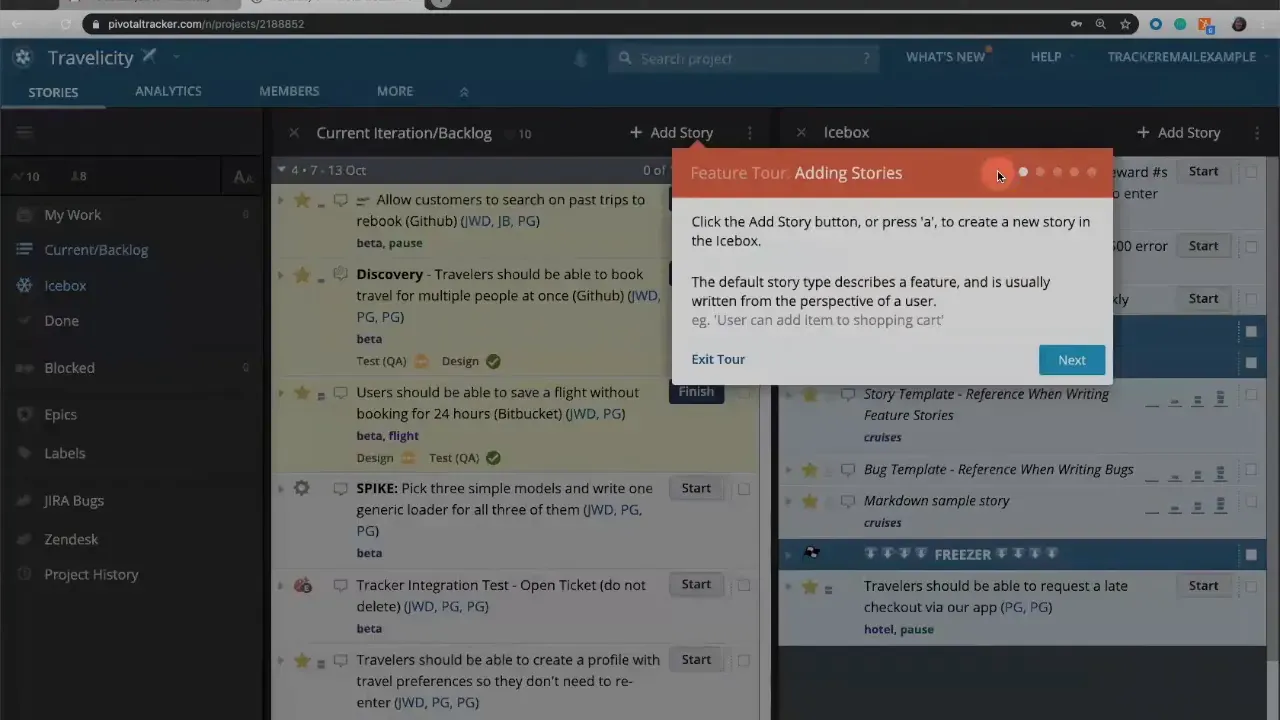
After you click continue, you are brought into the project workspace. New accounts typically see a small welcome section that includes a short orientation video and a quick tour of the user interface. These resources are optional but useful for learning how to navigate the project, where to find stories, and how to add tasks.
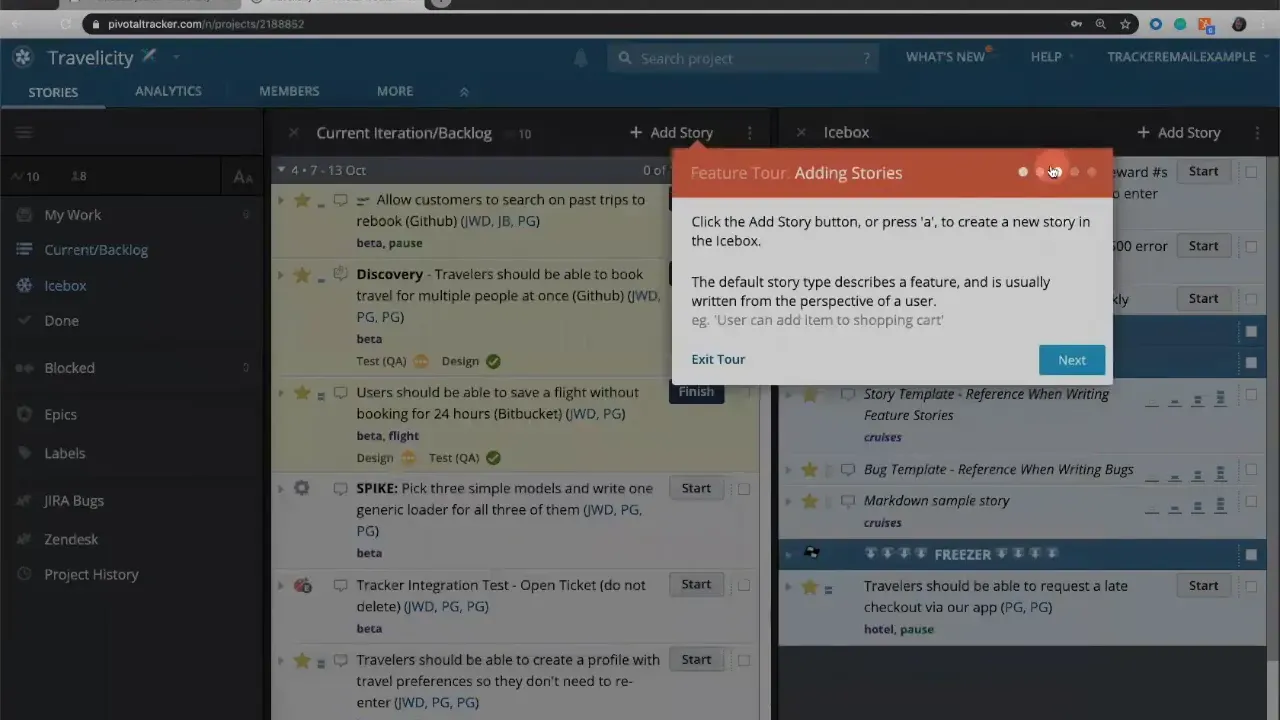
If you close the welcome video, you can reopen the same help resources later from the Help menu. The quick tour highlights the most common interfaces. The tour is especially helpful if you are transitioning to LiteTracker from another tool because it focuses on the essentials you will use every day.
Step 6: Use the Help menu for repeated guidance
All of the initial orientation tools remain available in the Help menu. Return to the welcome video or the guided tour any time you need a refresher. If you prefer a lightweight workflow, LiteTracker's core features are covered in the quick tour so you can get productive without exploring every advanced option.
Key actions to complete right away
- Confirm your email so you receive notifications and password recovery options.
- Set your notification preferences in your profile to control email frequency.
- Complete the brief tour to learn where stories, labels, and backlog live.
- Introduce yourself in the project to let teammates know you are ready to start.
Tips for a smooth start
- If security or corporate accounts block email links, ask the inviter to resend or to add your account manually. LiteTracker and full Tracker both rely on the same invite mechanism, so coordination with the project admin solves most access issues.
- Use a memorable but secure password. Consider a password manager to keep things simple across tools.
- Keep the invite email until you are certain your account is configured. It contains the authoritative link to join the project.
FAQ
What should I do if the Join the Project button does not work?
If the button fails, copy and paste the invitation URL into your browser or ask the inviter to resend the invite. Browser extensions or strict email clients can sometimes block link behavior. Try a different browser or disable blockers temporarily.
Do I need an account to join, or can I join as a guest?
You need a Tracker account to be a member of a project. The invite link guides you to create one if you do not already have one. LiteTracker users still create the same account but may use a simplified interface depending on their preferences.
Will agreeing to the privacy and data policies affect my project access?
Agreeing to the policies is required to create the account and access the project. Those agreements govern how your information is handled and are standard across collaboration platforms.
How can I view the welcome video again after I close it?
Open the Help menu inside the project interface. The welcome video and the guided quick tour are available there at any time for new and returning users.
Can I switch between LiteTracker and the full Tracker interface?
LiteTracker is designed as a streamlined workflow option. If your organization supports both modes, you can select the view that matches your needs. Check your profile or account settings for display options.
Final checklist before you start contributing
- Confirm your email and finish account setup.
- Choose notification preferences that fit your cadence.
- Watch the welcome video or take the quick tour to learn the interface.
- Introduce yourself in the project and ask your team where to begin.
- Keep a note of the project's conventions for labels, state changes, and handoffs.
Joining a new project should not be a hurdle. With the invitation link, a short account setup, and a quick tour you are in. If you opt to use LiteTracker as your streamlined entry point, the essentials are the same: login, set preferences, and start interacting with the backlog. Welcome aboard and good luck contributing to your first stories.
Additional resources
No external links were provided with this task. If you have relevant URLs to include, consider linking them to these short phrases already present in the article: "Join the Project", "privacy policy", "Help menu", or "welcome video". Adding those links will help new users quickly find account creation, policy details, and orientation materials.
Credits: This tutorial is created based on this original video You've been invited to Tracker via email, now what?