LiteTracker is designed so you can do and see everything in a single view. This guide walks through the interface step by step, explains how to organize stories, use the icebox, manage iterations, and save searches so your team moves predictably. If you want to customize your own workspace and understand how velocity drives planning, this is for you.
Step 1: Make the sidebar your control center
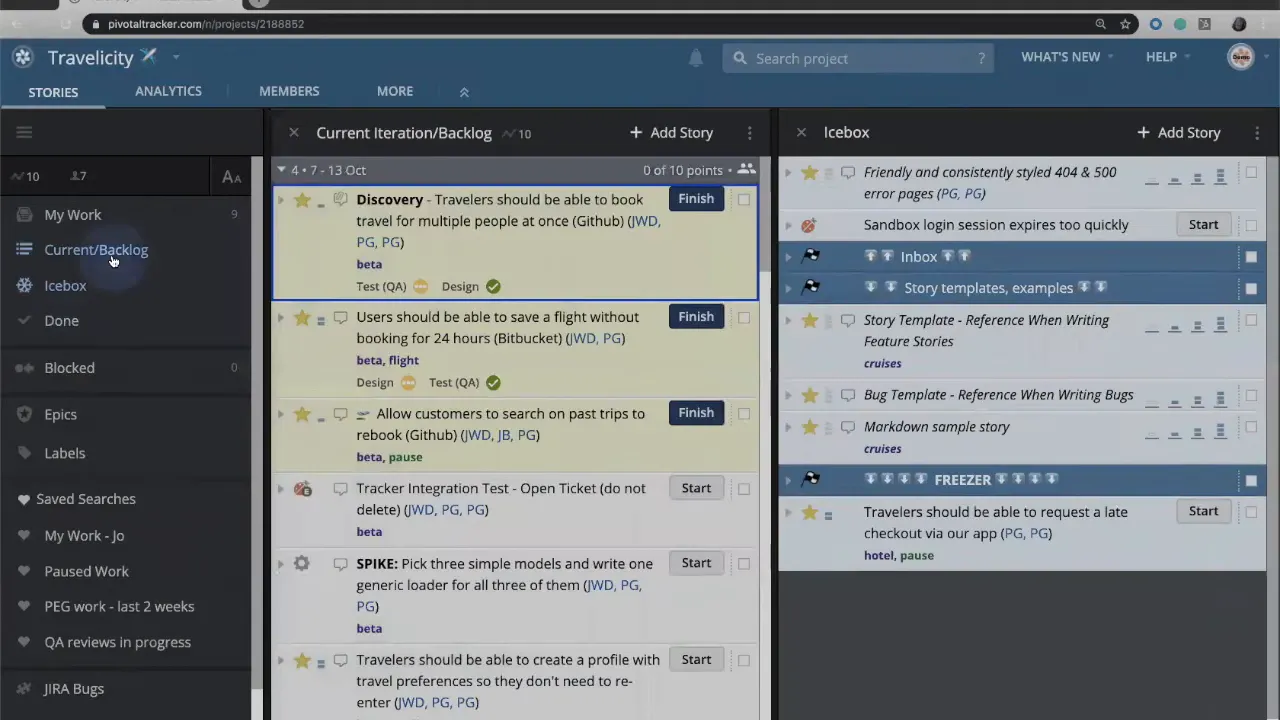
The left-hand sidebar is where LiteTracker hands you quick access to panels. Open any panel from the sidebar and it will appear in the main area. Close it and reopen it whenever you need. Changes you make to panel layout only affect your view, so experiment until the interface works for your workflow.
Use the sidebar to pin frequent searches, see integrations, or jump to project history. Treat it as your personalized launchpad: everything you pin becomes a one-click shortcut that keeps your focus razor sharp.
Step 2: Arrange panels to match how you think
Panels in LiteTracker are flexible. You can reorder them, clone a panel to view the same list side by side, or split the backlog and current iteration into separate panels. Cloning and splitting are especially helpful when you need to compare or drag stories between lists.
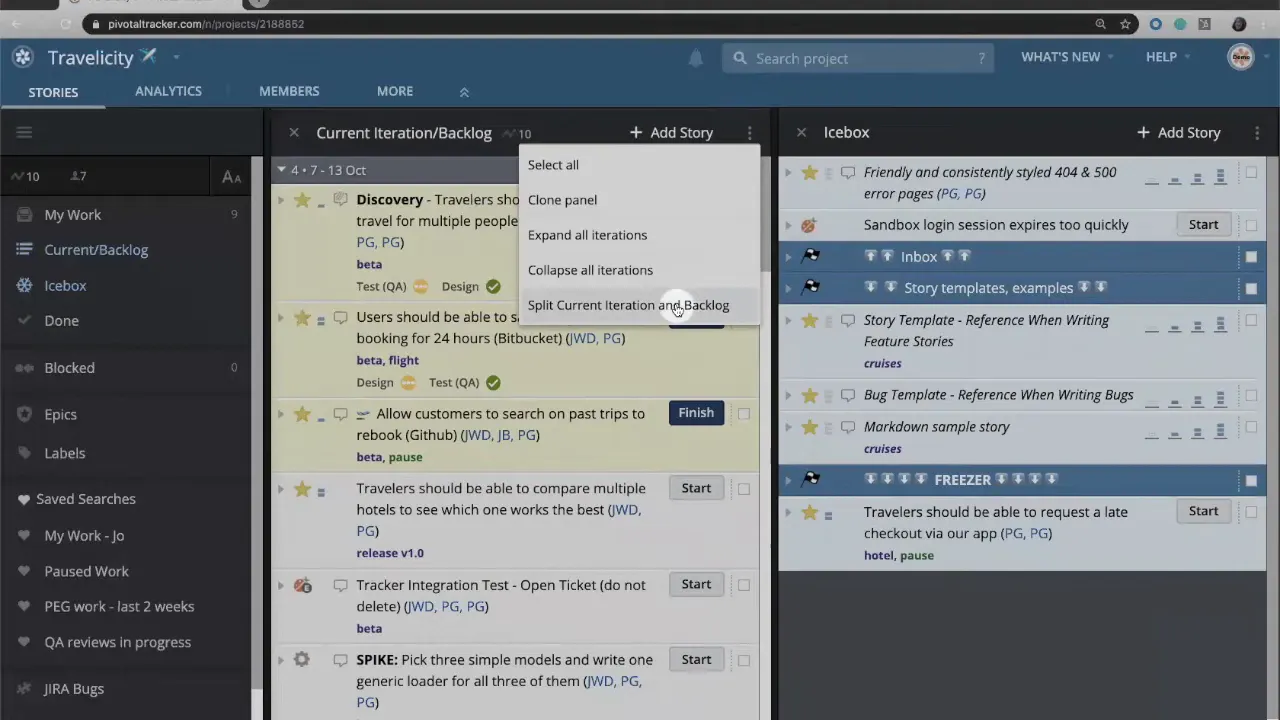
If you prefer a single long list, you can combine split panels back together. The interface is built to accommodate different team habits: some like separate views for planning and execution, others prefer a continuous flow. Customize freely because these changes are local to your account.
Step 3: Use the icebox as your inbox for ideas
The icebox is a holding area for stories you are not yet committed to. Add enhancement ideas, unconfirmed bugs, or feature requests here. Think of the icebox as a triage zone: items live here until you decide to move them into the backlog for prioritization.

When a story is ready and you are committed to delivering it soon, create it directly in the current iteration backlog. If you are still evaluating, keep it in the icebox. This separation prevents the backlog from becoming cluttered with speculative work.
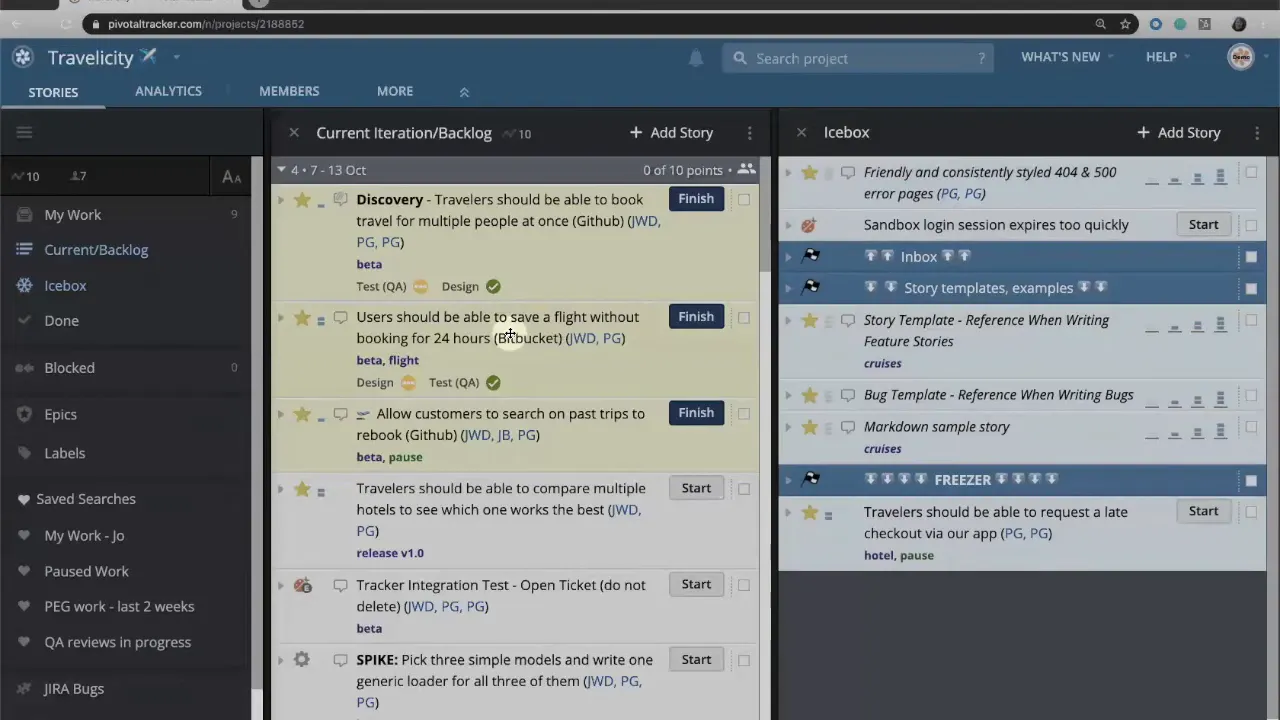
Step 4: Prioritize the backlog and follow the top-down workflow
Stories in the current iteration backlog are presented in priority order from top to bottom. Developers should always start at the top. When one story is complete, move to the next. This simple top-down approach reduces coordination overhead and keeps the team focused on delivering the most important outcomes first.
If you need to reorder work, drag items within or between panels. Cloning a panel lets you view a portion of the backlog while you reorder items farther down the list.
Step 5: Estimate consistently and let velocity guide planning
LiteTracker calculates your velocity from story estimates. Estimates are expressed as story points, not time. Story points capture complexity, uncertainty, and risk for a story. In the default scale you will commonly use 0, 1, 2, or 3 points, but your team can choose a different scale if preferred.
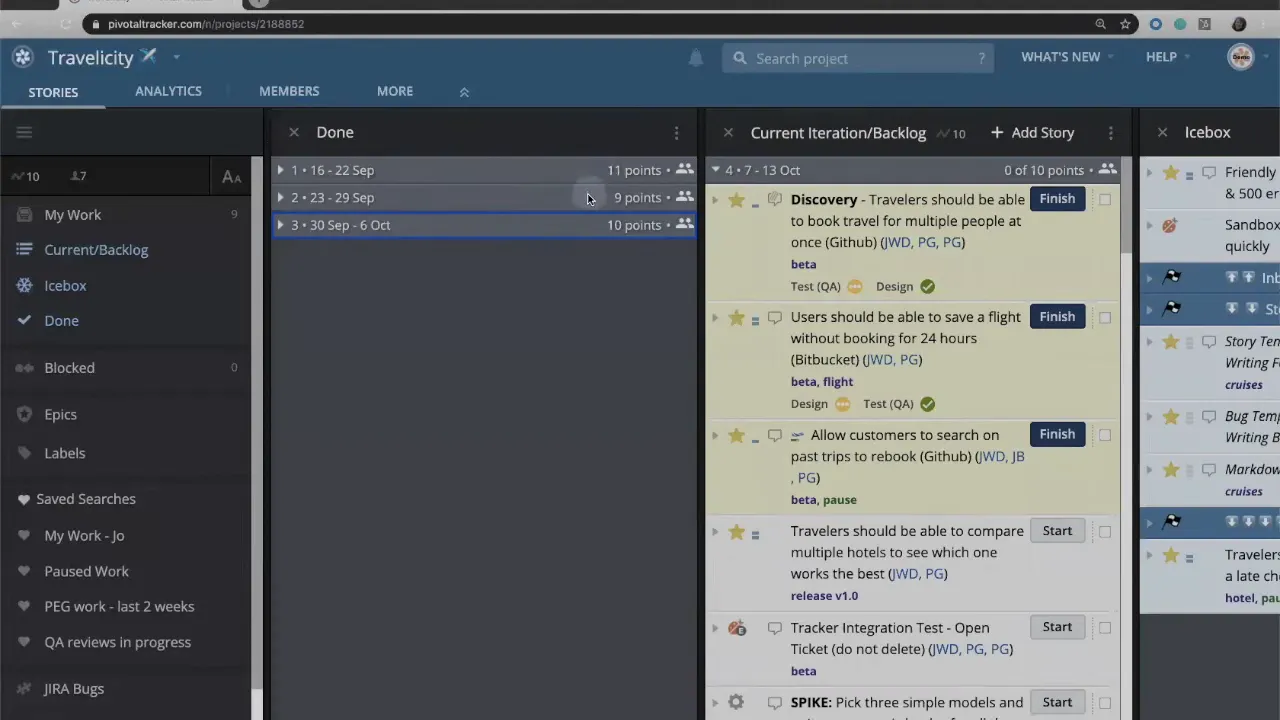
You cannot start work on a story until it has an estimate. Once stories are estimated, LiteTracker averages completed iterations to compute a planning velocity. For example, if iterations previously delivered 11, 9, and 10 points, the average velocity becomes 10 points. Future iterations are then planned at that rate so iteration four, five, and six each receive 10 points of work.
If an iteration cannot fit the next story without exceeding velocity, LiteTracker will allocate the remaining points to that iteration and move the rest down the backlog. This continuous recalculation after each iteration keeps planning realistic and anchored to delivery history.
Step 6: Track personal work with My Work
Click My Work to surface everything assigned to you. It functions as a personal to-do list inside LiteTracker so you can quickly see what needs attention without filtering the whole project. Use this when you need a focused view of your responsibilities or when you are preparing for stand-ups.
Step 7: Search, save, and reuse powerful filters
LiteTracker has a robust search box with common search operators available via the question mark help. You can copy those operators directly into the search box to create complex queries. Once you have a useful search, save it to the sidebar or pin it as a panel so you can reopen the same filter anytime.
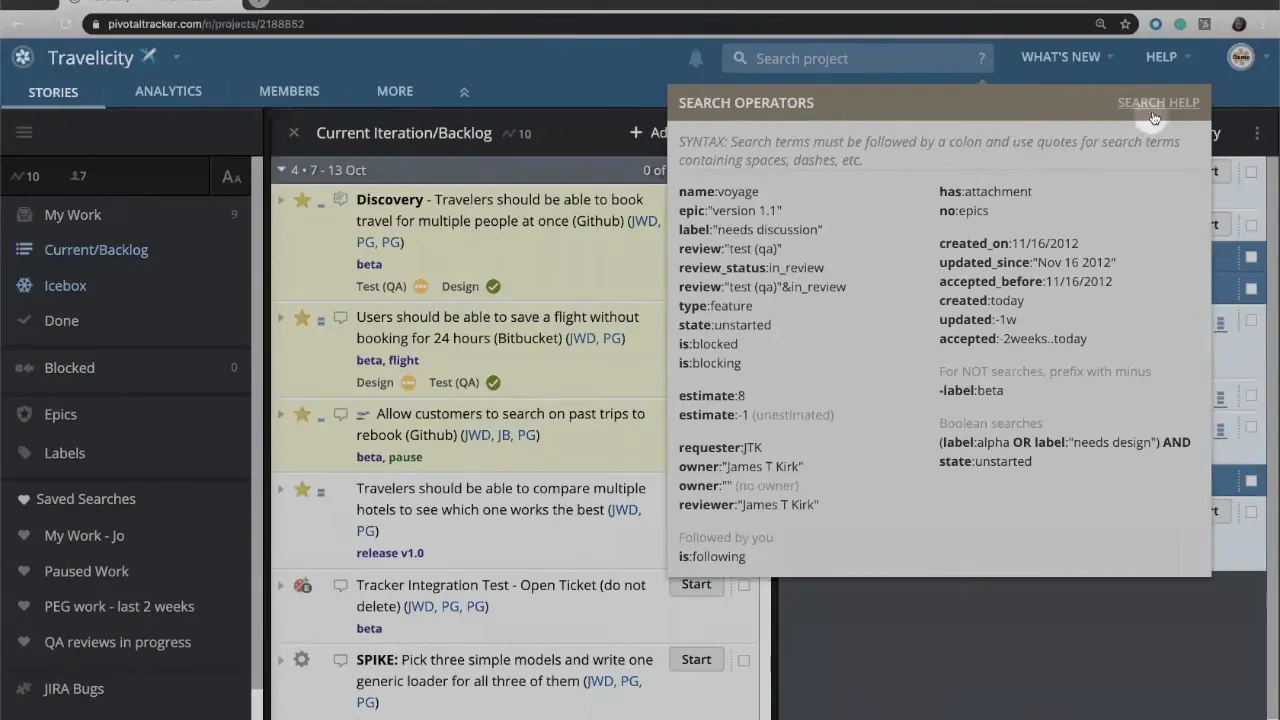
Saved searches are perfect for recurring checks like pending QA reviews, in progress stories requiring a specific tag, or regression tests that crop up frequently. Remove saved searches just as easily by clearing the saved entry from the sidebar.
Step 8: Integrations and project history
Scroll down the sidebar to find any integrations you've connected to LiteTracker and a project history view. Integrations let you surface external tools and notifications directly in the Tracker interface. Project history provides a timeline of activity so you can audit changes and understand how the backlog evolved.

Pro tips to get the most from LiteTracker
- Keep estimates consistent: Agree on what 1, 2, and 3 points mean so velocity remains meaningful.
- Use the icebox for discovery: Avoid polluting the backlog with ideas unless you plan to commit soon.
- Save common searches: Pin recurring queries to the sidebar to save time during planning and QA.
- Personalize your view: Reorder panels and clone lists for quick drag and drop and reduced context switching.
- Rely on velocity, not wishful thinking: Plan work based on historical averages and adjust when delivery patterns change.
Final checklist before you start a sprint
- Confirm all stories in the iteration have estimates.
- Verify priority order at the top of the backlog.
- Check My Work for individual assignments.
- Pin or save any search filters needed for the sprint.
- Review the icebox and move any ready stories into the backlog.
Frequently Asked Questions
How does LiteTracker calculate velocity?
Velocity is the average of story points delivered across recent iterations. LiteTracker averages the points from completed iterations to forecast how many points the team can take on in upcoming iterations. Adjust estimates and observe trends to refine this number over time.
Can I customize my view without affecting others?
Yes. Any layout changes, panel cloning, or saved searches you configure affect only your account. This lets each team member tailor LiteTracker to their role while keeping a common single source of truth for story data.
What belongs in the icebox versus the backlog?
Use the icebox for ideas, unvalidated bugs, and enhancement requests that are not yet committed. Move items into the backlog when you are confident they will be prioritized for upcoming work.
How do saved searches help daily work?
Saved searches capture complex filters you use regularly. Pin them to the sidebar to quickly open tailored panels for QA reviews, in progress bugs, or stories with specific labels. This reduces time spent rebuilding searches each day.
Are estimates measured in hours?
No. Estimates should be in story points to capture complexity and uncertainty rather than time. Using points keeps planning focused on relative effort and helps velocity remain a stable planning metric.
Credits: This tutorial is created based on this original video.